Free Sticker Templates: Sizes, Sheets and Print-and-Cut Files
A sticker template has one job: put the right number of stickers on the sheet, spaced so they can actually be cut afterwards. The free templates in the studio do that in the browser — pick a size, and the grid arrives already laid out with the sheet corners kept clear for a cutting machine's registration marks. You print a PDF at 100% scale, and if a machine is doing the cutting, you export the matching SVG or DXF cut file from the same screen. Here are the sizes, the per-sheet counts, and which file each machine needs.
Sticker sizes: how many fit per sheet
| Sticker size | A4 | US Letter | A3 | A3+ |
|---|---|---|---|---|
| 50 × 50 mm (2 in) | 12 | 10 | 30 | 35 |
| 75 × 75 mm (3 in) | 4 | 4 | 12 | 20 |
These counts are lower than a sheet packed edge to edge, on purpose. Print-then-cut machines read registration marks printed near the sheet corners, and every mark needs clear paper around it — so the largest grid that still machine-cuts is the one the template gives you. Cutting by hand with scissors? Then no marks are needed: raise the rows and columns in the layout panel and pack in more.
50 × 50 mm (2 in) — the everyday sticker
The default size, and the one to start with if you're unsure: big enough for a logo, a product label or a planner sticker, small enough that 12 fit on an A4 sheet (10 on US Letter, where the template runs two columns of five to clear the side margins instead). At typical inkjet costs that makes 50 mm the cheapest size per sticker of the two, which is why it's the standard for order freebies and packaging seals.
Open it directly: 50 mm sticker sheet template.
75 × 75 mm (3 in) — laptop and packaging size
The size for laptop lids, water bottles and box tops, where a 50 mm sticker looks lost. It pays the most for machine cutting: 4 fit on A4, because three rows of 75 mm would need 225 mm and A4 leaves only 221 mm between the top and bottom registration-mark zones. That's not the template being lazy — it's what a 75 mm sticker genuinely costs once a machine has to register the sheet. On A3 the count jumps to 12, so if you print 75 mm stickers in volume, a larger sheet is where the saving is.
Need a different size?
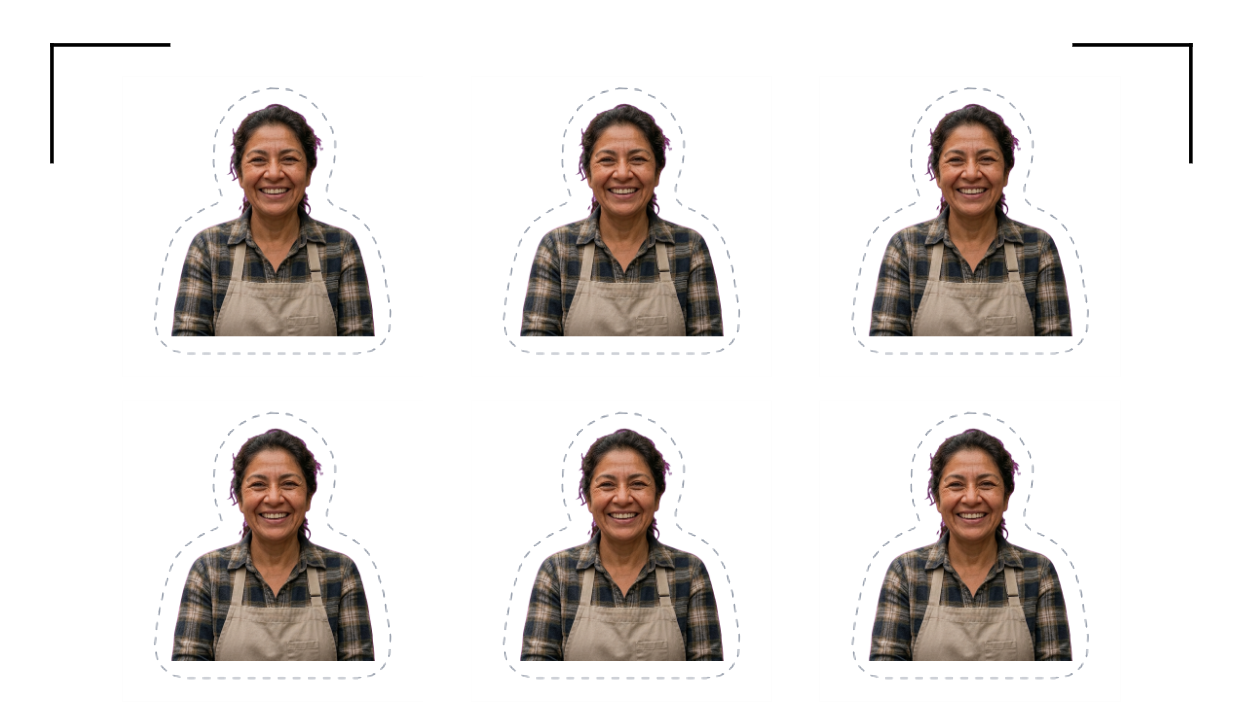
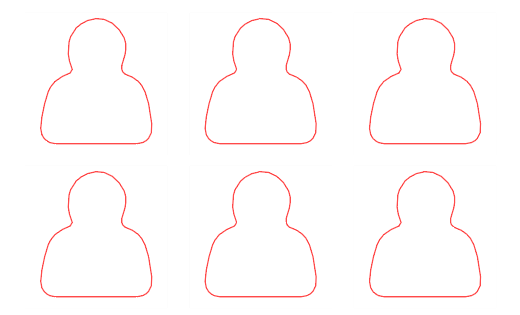
The two presets aren't a limit. Stickers on a sticker template move and resize freely — drag them anywhere on the sheet, mix 50 mm and 75 mm on one page, or type a custom width and height for a size the presets don't cover. The rows and columns are ordinary editable fields, so "50 mm template" and "custom 60 × 40 mm label sheet" are the same template a few keystrokes apart. Each sticker keeps its own die-cut outline, traced automatically around the artwork by the Sticker Outline tool — including the white margin that hides small cutting wobbles.
Which file does your machine need?
The template exports a print file (PDF, or a PNG/JPG) and cut files carrying the die-cut contours (SVG and DXF, plus a Cut Lines Only SVG). Which you use depends on the machine — and Cricut is the one exception that needs the PNG, not the SVG:
| How you cut | File you need |
|---|---|
| Cricut (Maker, Explore, Joy) | Transparent PNG, via Print Then Cut — not the artwork SVG (Cricut turns SVG images black) |
| Silhouette Cameo / Portrait | DXF — the free Silhouette Studio can't open SVG |
| Brother ScanNCut | SVG, via CanvasWorkspace or USB on SDX models |
| Scissors | Just the PDF — cut along each sticker's printed white border |
The full workflow for each machine — importing, registration, blade settings, and the print-at-actual-size rule that saves a wasted sheet — is in the die-cut sticker guide.
About those corner marks
If your machine won't find the sheet, or you're not sure whether you need trim marks, crop marks or registration marks at all, that's its own topic: cutting marks vs registration marks explains what each mark does, which style each machine expects, and why a mark on a dark background is invisible to an optical sensor. The short version for template purposes: hand cutting wants marks you can see, machine cutting wants marks the camera can read, and the same Show Cutting Mark control in the studio produces both.
From template to finished sticker
- Open a template — 50 mm to start, on your paper size.
- Upload artwork and click Sticker Outline (die-cut) to trace the cutting line. The one-click Remove BG button strips a photo background first if needed.
- Print the PDF at 100% on sticker paper — never "fit to page".
- Cut — export the SVG or DXF for your machine, or take the scissors route along the printed borders.
The templates, the outline tool and the cut files are free to use in the browser, with nothing to install. If you're printing stickers to sell, the paid plans add watermark-free downloads and higher volume limits — and the same account covers the badge and magnet templates when your sticker customers ask for those too.
Frequently Asked Questions
Are the sticker templates really free?
Yes. Opening a template, tracing die-cut outlines, arranging the sheet and exporting the SVG/DXF cut files all work free in the browser, with no software to install. Paid plans add watermark-free downloads and higher volume limits for people printing at commercial volume.
What sizes do the printable sticker templates come in?
Two presets — 50 × 50 mm (2 in) and 75 × 75 mm (3 in) — each on A4, US Letter, A3 and A3+ paper. Neither is a limit: stickers resize and move freely on the sheet, so custom sizes and mixed-size sheets use the same template.
How many stickers fit on an A4 sheet?
12 at 50 × 50 mm, or 4 at 75 × 75 mm. The counts leave the sheet corners clear because print-then-cut machines need that space for registration marks. If you're cutting by hand, raise the rows and columns in the layout panel and fit more.
Do the free sticker templates work with a Cricut?
Yes — but for Cricut you upload a transparent PNG of the sheet, not the SVG. Cricut treats any uploaded SVG as cut-only geometry and turns the printed artwork black. Upload the PNG, use Print Then Cut, and Cricut prints the stickers and auto-cuts each one from its transparent edge. The SVG and DXF cut files are for Silhouette, Brother and other vector cutters.
What file format is the sticker sheet template?
The template lives in the browser — nothing to download before you start. From it you export a print-ready PDF (and PNG/JPG) for printing, plus cut files in SVG and DXF. Brother and generic cutters use the SVG, Silhouette's free edition uses the DXF, and Cricut uses a transparent PNG with Print Then Cut.
What is a good size for printable stickers?
50 × 50 mm (about 2 inches) is the everyday choice — labels, freebies, packaging seals — and the cheapest per sticker at 12 to an A4 sheet. 75 × 75 mm (about 3 inches) suits laptop lids and box tops, at 4 per A4 sheet or 12 per A3.
Is there a sticker sheet template for US Letter paper?
Yes — every sticker size comes in a US Letter version: 10 stickers at 50 mm (two columns of five, arranged to clear the side registration zones) and 4 at 75 mm. A3 and A3+ versions exist too for higher counts per sheet.
Why can't I fill the whole sheet with stickers?
You can — but only if you cut by hand. A cutting machine finds the printed sheet by reading registration marks near the corners, and each mark needs clear paper around it, so a sheet packed edge to edge cannot be machine-cut. The template's default grid is the largest that still registers.