Cutting Marks vs Registration Marks: What They Are and How to Use Them
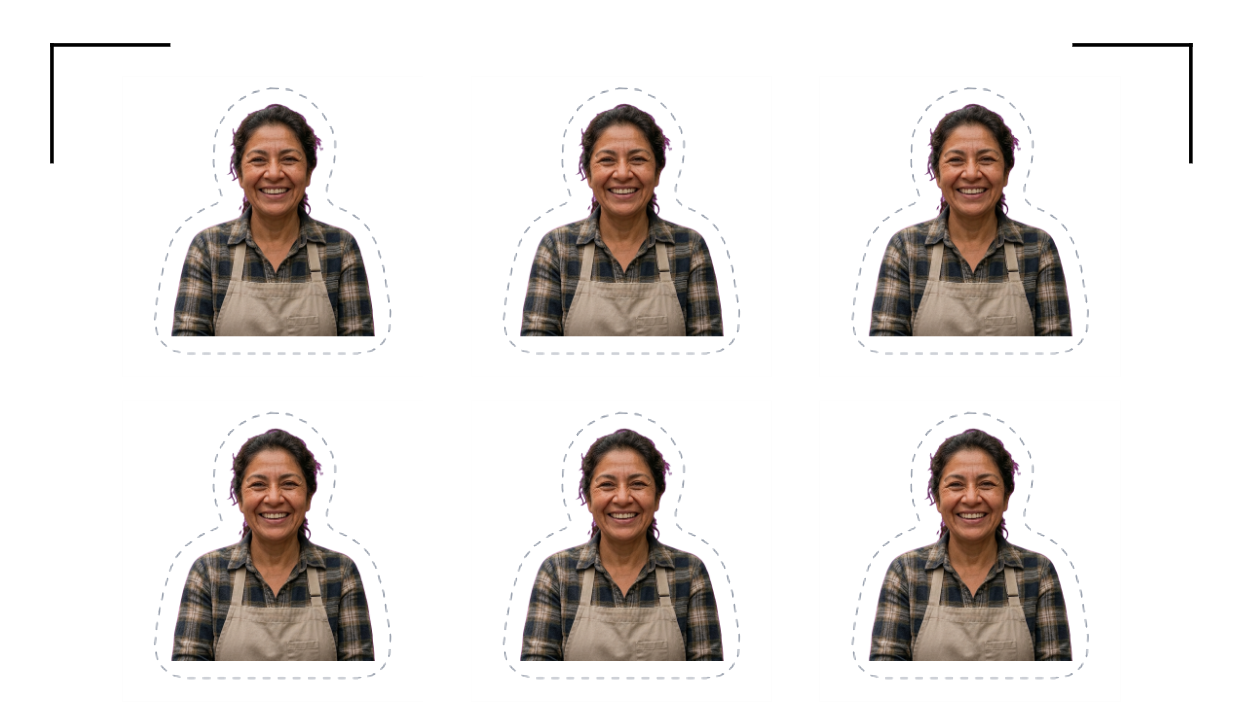
Every print-and-cut sheet has small symbols around its edges — little corners, crosses or dots that never end up on the finished piece. They are cutting marks, and they do one of two very different jobs depending on how you cut. Get the right kind and your badges trim straight or your stickers cut dead-on; get the wrong kind and a cutting machine simply refuses to start. This guide explains each type, when to use it, and how it works on both ordinary badge/magnet templates and sticker sheets.
The three marks people mix up
"Cutting marks", "trim marks", "crop marks" and "registration marks" get used as if they mean the same thing. They don't, and the difference is the whole point:
- Trim marks (crop marks) — short lines that show where to cut. They tell your eye, a craft knife, or a guillotine where the edge of each piece falls. A human reads them.
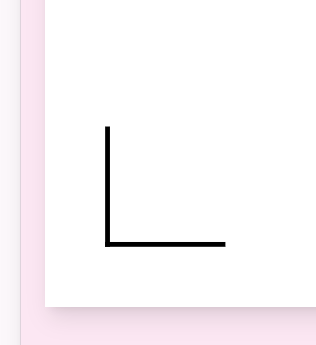
- Corner marks (L-marks) — the same idea drawn as an L in each corner, marking the sheet's boundary. The most common convention, because one shape marks both edges of a corner at once.
- Registration marks — reference points a machine reads. A cutting machine's optical sensor finds these marks to work out exactly where your printed sheet sits on the mat, then cuts a separate digital file in perfect alignment. A registration mark is for a robot, not your eye.
Here is the rule that clears up the confusion: if you cut by hand, you want trim or corner marks. If a machine cuts, you need registration marks. The same Show Cutting Mark control produces both — you just choose the style that matches how you'll cut.
Cutting marks on badge and magnet templates
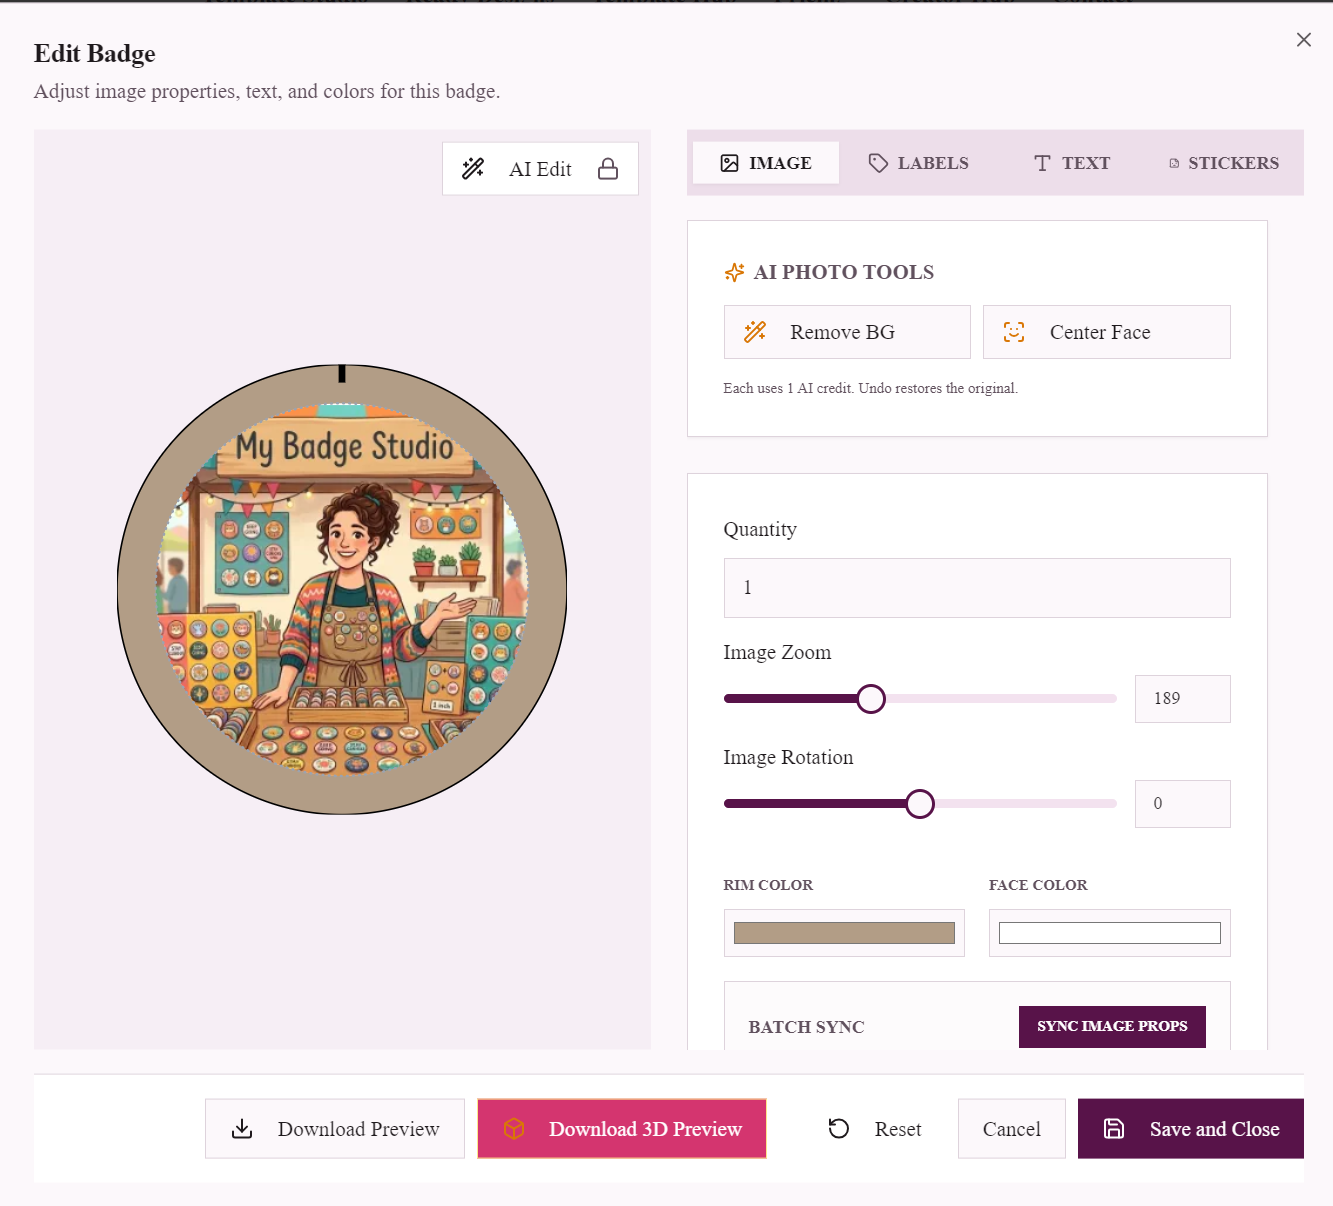
A badge or magnet sheet is printed many-up — dozens of 25mm, 44mm or 58mm circles on one page — and then trimmed into individual pieces before pressing. Here the marks are for you, not a machine. Turn on Show Cutting Mark in the studio and the sheet prints with a mark at each badge position (and at the sheet corners), so you can:
- line a guillotine or rotary trimmer up to the marks and cut clean rows;
- see the exact cut circle for each badge, which on a round badge is slightly larger than the visible artwork so nothing important sits in the crimp;
- keep every piece the same size across a big batch, instead of eyeballing each one.
Because these marks are read by a person, the style is about legibility. A thin crosshair or a small corner mark is enough; you don't need machine-grade registration for scissors-and-guillotine work. The marks print in a colour and weight you set, so they stay faint enough not to distract from the artwork.
Registration marks on sticker templates
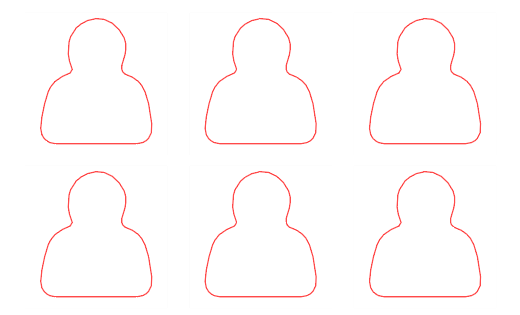
Sticker sheets are different: after printing, a shape cutting machine cuts a custom outline around each sticker — the die-cut contour — and it can only do that if it knows precisely where the print landed on the cutting mat. That is the registration mark's entire job. On a sticker template the marks sit in the sheet's clear corners, the machine's camera reads them, and the cut lines up with the print to a fraction of a millimetre.
This is also why sticker layouts leave the corners empty. A registration mark needs clear paper around it so the sensor can find it — which leads to the one rule that trips up everyone coming from ordinary printing:
A sheet packed edge to edge cannot be machine-cut. Registration marks and their surrounding quiet zone need room. If you crank the rows and columns up to fill every millimetre, the machine has nowhere to place its marks and won't read the sheet. Pack tight only when you're cutting by hand.
How shape cutting machines read the marks
Every print-and-cut machine works the same way in principle — print the sheet, let the camera find the marks, cut the digital contour — but each ecosystem has its own quirks:
| Machine | How it registers |
|---|---|
| Cricut (Maker, Explore, Joy) | Print Then Cut prints Cricut's own sensor marks around your design, so you import the cut file and let Design Space handle registration — you don't print the studio's marks for Cricut. |
| Silhouette (Cameo, Portrait) | Adds its own registration marks in Silhouette Studio, then its optical eye reads them before cutting. The L-corner style matches Silhouette's convention closely. |
| Brother ScanNCut | Scans the whole printed sheet with its built-in scanner to align the cut — a slightly different approach that still relies on a clean, uncluttered sheet. |
| Generic vinyl cutters | Many read printed corner marks directly. Turn on the studio's marks, match the mark size and inset to your machine's manual, and print at actual size. |
Which file each machine accepts — a transparent PNG for Cricut's Print Then Cut, SVG for Brother, DXF for the free edition of Silhouette Studio — is its own topic, covered in the die-cut sticker guide. The short version: the studio exports all of them, so you're covered either way.
How to add cutting marks in the studio
It's one toggle and a couple of choices:
- Turn on Show Cutting Mark in the Badge Shape & Size panel. The sheet immediately shows marks at the corners and cut positions.
- Pick a mark style to match how you'll cut — an L-corner (the machine-friendly default), a square, a circle, or a crosshair. Hand-trimming? Any style works; a crosshair or corner is easiest to line a blade up to.
- Size and inset. Set how large each mark is and how far it sits in from the paper edge, so it matches what your cutting machine expects — or just leave the defaults for hand cutting.
- Print or export. The marks print on the sheet, and they're carried into the SVG and DXF cut files, so the printed marks and the machine's cut file always agree.
Because the marks live in the same file as the artwork, there's no separate "add crop marks in a PDF editor" step — the sheet you print and the file the machine cuts come from one place and can't drift apart.
Tips for marks that actually work
- Print at 100% / actual size — never "fit to page". Scaling the print moves the marks off the millimetre positions the cut file expects, and the machine misses them.
- Leave the corners clear for registration marks. If a design or a packed layout crowds a mark, the sensor can't find it.
- Match the mark to the job. Machine cutting wants clean, high-contrast registration marks; hand trimming just wants a line you can see.
- Do a test read. Before a big batch, run one sheet through the machine's registration step — if it finds the marks, the rest of the batch will too.
- Keep marks off coloured backgrounds. A dark mark on a dark background is invisible to an optical sensor; the quiet white corners exist for exactly this reason.
Whether you're trimming a hundred badges on a guillotine or letting a Silhouette cut a sheet of stickers, the marks are what turn a printed page into finished pieces. Set them once in the studio, and every sheet you print — badges, magnets or stickers — comes out ready to cut. Making them to sell? The paid plans add watermark-free downloads and higher limits.
Frequently Asked Questions
What is the difference between cutting marks and registration marks?
Cutting marks (trim or crop marks) show a person where to cut by hand — with scissors, a knife or a guillotine. Registration marks are reference points a cutting machine's optical sensor reads to align a separate digital cut file with your printed sheet. Hand cutting uses trim marks; machine cutting needs registration marks.
Do I need cutting marks to make button badges?
They're optional but helpful. On a many-up badge or magnet sheet, turning on Show Cutting Mark prints a mark at each badge position so you can trim clean, consistent circles on a guillotine or trimmer instead of eyeballing every cut. Since badges are cut by hand, simple corner or crosshair marks are all you need.
Why won't my cutting machine find the registration marks?
Usually one of three things: the sheet was printed scaled instead of at 100% actual size, the marks are crowded by artwork or a packed layout with no clear space around them, or a mark sits on a dark background where the optical sensor can't see it. Print at actual size, leave the corners clear, and keep marks on white.
Can I pack a sticker sheet edge to edge?
Not if a machine will cut it. Registration marks and their quiet zone need clear paper in the sheet corners, so a sheet filled to the very edges leaves the machine nowhere to place its marks and it won't register. Pack a layout tight only when you're cutting by hand and don't need marks.
Which registration mark style should I use for Cricut or Silhouette?
For Cricut Print Then Cut, you don't print the studio's marks at all — Design Space adds Cricut's own sensor marks. For Silhouette, the L-corner style matches its convention closely; add the marks, or let Silhouette Studio place its own, then let the camera read them before cutting.
Do the cutting marks show up on my finished badges or stickers?
No. The marks sit in the sheet margins and at cut positions outside each piece, so once the sheet is trimmed or the stickers are die-cut, the marks are on the discarded waste, never on the finished item.
Are the cutting marks included in the cut file?
Yes. When you export the SVG or DXF cut file, the marks are carried into it alongside the cut contours, so the marks printed on your sheet and the file the machine cuts come from the same source and stay perfectly aligned.