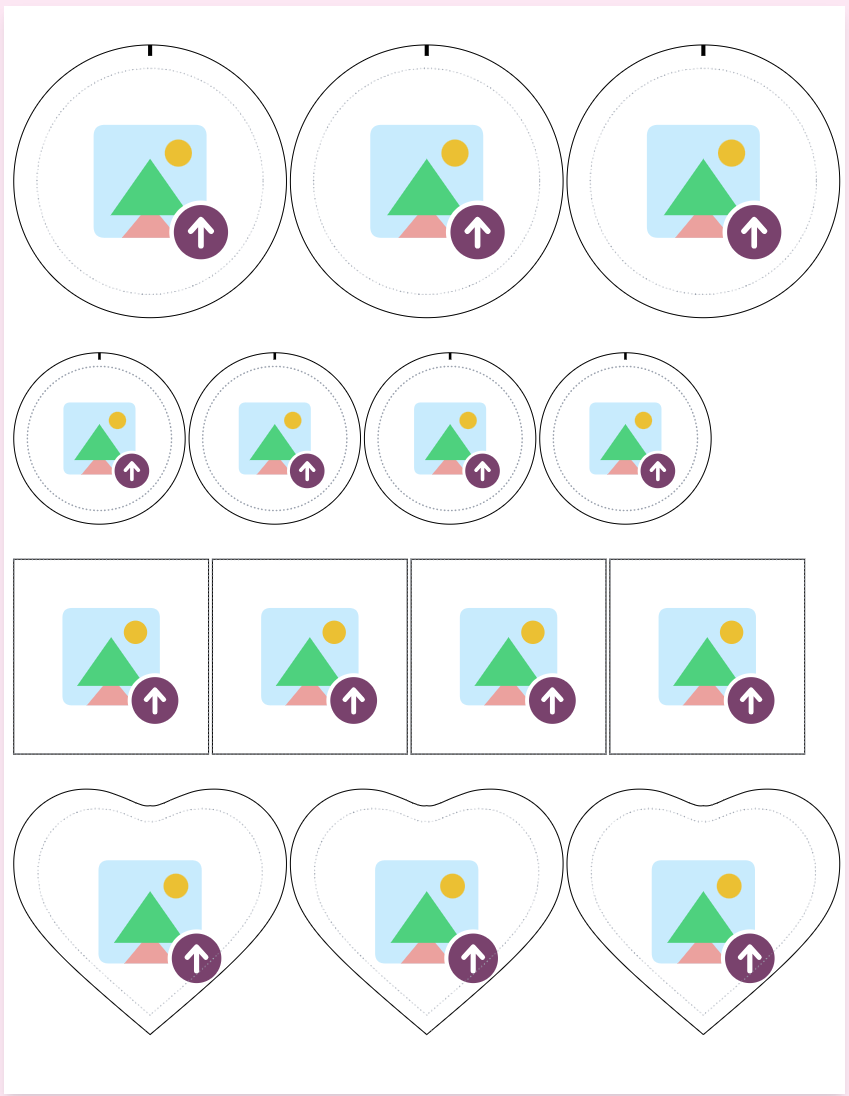
Most badge sheets are one size, tiled into a grid. But a real order is rarely so tidy — you might need eight 58 mm badges, a dozen 44 mm, and a couple of hearts, and printing three separate sheets wastes paper and press time. The Multiple badge sizes tool in the studio puts every size on one page: you add a section per size, give each a quantity, and the layout packs them together automatically. This guide walks the whole thing — setting the sizes, adding artwork, reading the layout, and printing with cutting marks.
What "multiple sizes on one page" actually does
Instead of a single grid, the sheet becomes a set of sections — one per badge size. Section 1 is your main size; each size you add is another section with its own dimensions and its own quantity. The studio then flows every badge onto the sheet, filling each row across the width so a small badge tucks in beside a larger one, and stacking rows down the page. When there are more badges than fit on one sheet, it spills onto page 2, 3 and so on by itself. One design, one print run, the least paper the mix allows.
It's on any paid plan. On the free plan the panel shows a short upgrade note instead — everything else in the studio stays free to use.
Step 1 — Set your main size
Open the studio and set your first badge as normal, in the Badge Shape & Size panel at the top — shape (round, square, oval or heart) and the outer and inner dimensions. This first size becomes Section 1 automatically; you don't create it separately. If you loaded a template like 58mm Badge – A4, that's already your Section 1.
Step 2 — Turn on Multiple badge sizes
Scroll to Paper Size & Layout and find Multiple badge sizes, just below the Columns/Rows fields. Click Add size. A card appears titled Section 2, and Section 1 now shows its own row at the top — labelled with its badge size and quantity, e.g. Section 1 · main (58mm badge, 6).
Step 3 — Choose each size and its quantity
Every added section has a Badge size dropdown with the common presets ready to pick:
- Round badges — 25, 32, 37, 44, 50, 58 and 75 mm.
- Heart badge and Oval badge (65 × 45 mm).
- 50 mm square magnet.
- Custom size… — type your own Outer and Inner width/height for anything the presets don't cover. Each field has up/down arrows for half-millimetre nudges.
Under the size, set Quantity (how many of this size) — the number of that badge you want on the sheet. That's the whole definition of a section: one size, one quantity. Add as many sections as you have sizes with Add size again.
A note on sizes: the number a badge is known by is the inner (visible) diameter — a "58 mm badge" has a 58 mm face and a 70 mm outer edge that wraps around the button. The presets set both for you; if you go custom, the badge size chart lists the outer size each machine needs.
Step 4 — Add your artwork to each size
You've told the studio the sizes and counts; now give it the images. There are two ways, and you can mix them:
- Upload straight into a section. Each section (including Section 1) has an Upload here link — the photos you pick land in that size.
- Drag to assign. Uploaded images show as thumbnails; drag a thumbnail onto another section's card to move it there. Anything not assigned to a size sits in the Unassigned strip and fills whatever free slots remain, in order.
So you can hand a specific photo to the 58 mm section and let a batch of others flow into the rest — the badges of one size all share their assigned artwork, or repeat the same image across the quantity, exactly as a single-size sheet does.
Step 5 — Read the layout
The preview updates as you go, and it follows two rules worth knowing:
- Section order is the sheet order. Section 1 takes the top rows, Section 2 comes next, then Section 3 — top to bottom in the order you added them. Sizes are never shuffled around to look neat.
- Rows are packed to save paper. Within that order, each row fills across the sheet width, so smaller badges sit beside larger ones instead of every size getting its own wasteful band. Six large and six small badges take fewer rows packed than stacked.
If the badges add up to more than one sheet, the studio adds pages automatically — use the page arrows under the preview to step through them. You don't set a page count for mixed sheets; the quantities decide it.
Step 6 — Cutting marks, then print
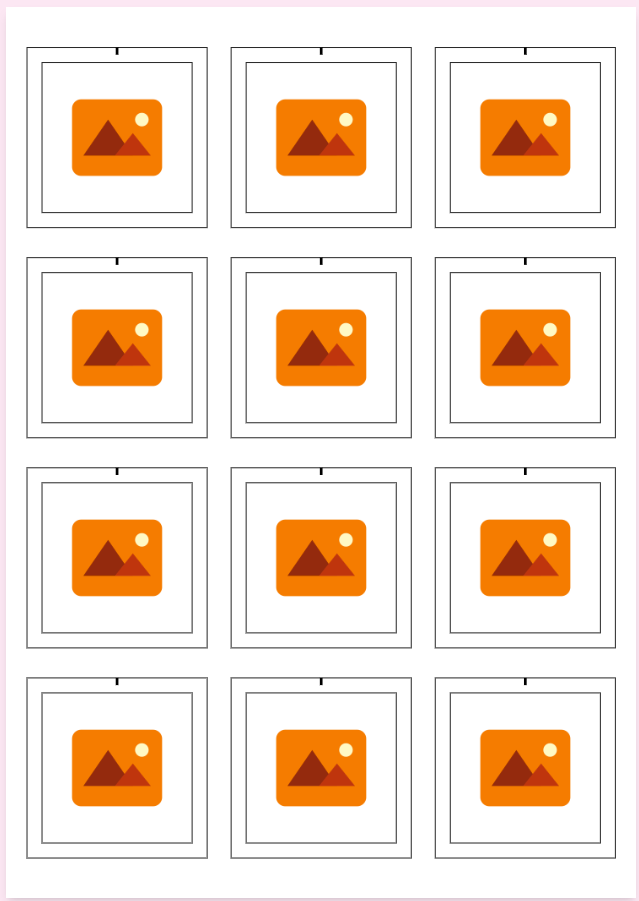
Turn on Show Cutting Mark and the mixed sheet gets row-based guides: tick marks at the paper edges show where to cut between rows, and short ticks between badges show where to cut within a row. You cut the sheet into strips, then each strip into badges — the same clean, grid-like guide a single-size sheet uses, adapted to the packed rows.
When it looks right, print or download. Download PDF and Print both render every page of the mix, and the cut-file export (for print-and-cut machines) matches the preview exactly — what you see on screen is what comes out, marks and all. Print at 100% / actual size, never "fit to page", so 58 mm stays 58 mm.
Handy things to know
- Section 1 is deletable too. The trash icon on the Section 1 row removes the main size and promotes your next section into its place — no size is stuck.
- Change a size any time. Re-pick the preset or edit the custom fields, and the layout re-packs instantly.
- Keep to one paper size. The mix lives on the paper you chose in Paper Size & Layout; pick the sheet first (A4, US Letter, A3, A3+), then let the badges fill it.
- It prints like any other sheet. Colours, text, QR codes, frames and the rest of the editor work on a mixed sheet exactly as on a single-size one.
A quick worked example
- Set the main size to a 58 mm round badge — that's Section 1. Set its quantity (via the main Columns/Rows, or delete-and-re-add as a section) to 8.
- Add size → pick 44 mm badge, quantity 12.
- Add size → pick Heart badge, quantity 2.
- Upload here on each section, or drop a folder of photos onto the sheet and drag thumbnails to the right sizes.
- Turn on Show Cutting Mark, check the preview and the page count, then Download PDF.
One sheet (or a tidy few), every size in the order you set them, packed to spare the paper. Open the studio to build yours — the whole layout is free to design and preview, and printing without a watermark is part of any paid plan.
Frequently Asked Questions
Can I put different badge sizes on the same page?
Yes. Open Paper Size & Layout in the studio, click Add size under Multiple badge sizes, and add a section for each size you need — 58 mm, 44 mm, a heart, and so on — with a quantity for each. The studio packs them all onto one sheet and spills onto more pages only if the total won't fit. It's available on any paid plan.
How do I set how many of each size I want?
Each section has a Quantity (how many of this size) field — set the count there. A section is simply one badge size and its quantity; add as many sections as you have sizes.
In what order do the badges appear on the sheet?
In the order you add the sections. Section 1 (your main size) takes the top rows, Section 2 comes next, then Section 3 — top to bottom. Within that order the rows are packed across the width to save paper, but sizes are never reordered.
Does mixing sizes waste paper?
No — it does the opposite. The layout fills each row across the sheet width, so smaller badges tuck in beside larger ones instead of each size getting its own half-empty band. Packing a mix onto one sheet uses less paper than printing each size separately.
What if the badges don't fit on one page?
The studio adds pages automatically. The quantities decide the page count for a mixed sheet, so you don't set it yourself — just step through the pages with the arrows under the preview, and every page prints in the PDF and print output.
How do I assign a specific photo to a specific size?
Use the Upload here link on that section to upload straight into it, or drag an existing image's thumbnail onto the section's card. Images you don't assign sit in the Unassigned strip and fill any remaining free slots in order.
How do cutting marks work on a mixed-size sheet?
Turn on Show Cutting Mark and you get row-based guides: ticks at the paper edges mark the cuts between rows, and short ticks between badges mark the cuts within a row. You cut the sheet into strips, then each strip into badges. The marks match between the on-screen preview, the PDF and the cut file.
Can I mix badge shapes, not just sizes, on one page?
Yes. A section can be any shape — round, square, oval or heart — so you can put round badges, a heart and a square magnet on the same sheet. Each section keeps its own shape and size, and the layout packs them together.