How to Add a Custom Image Uploader to Any Website
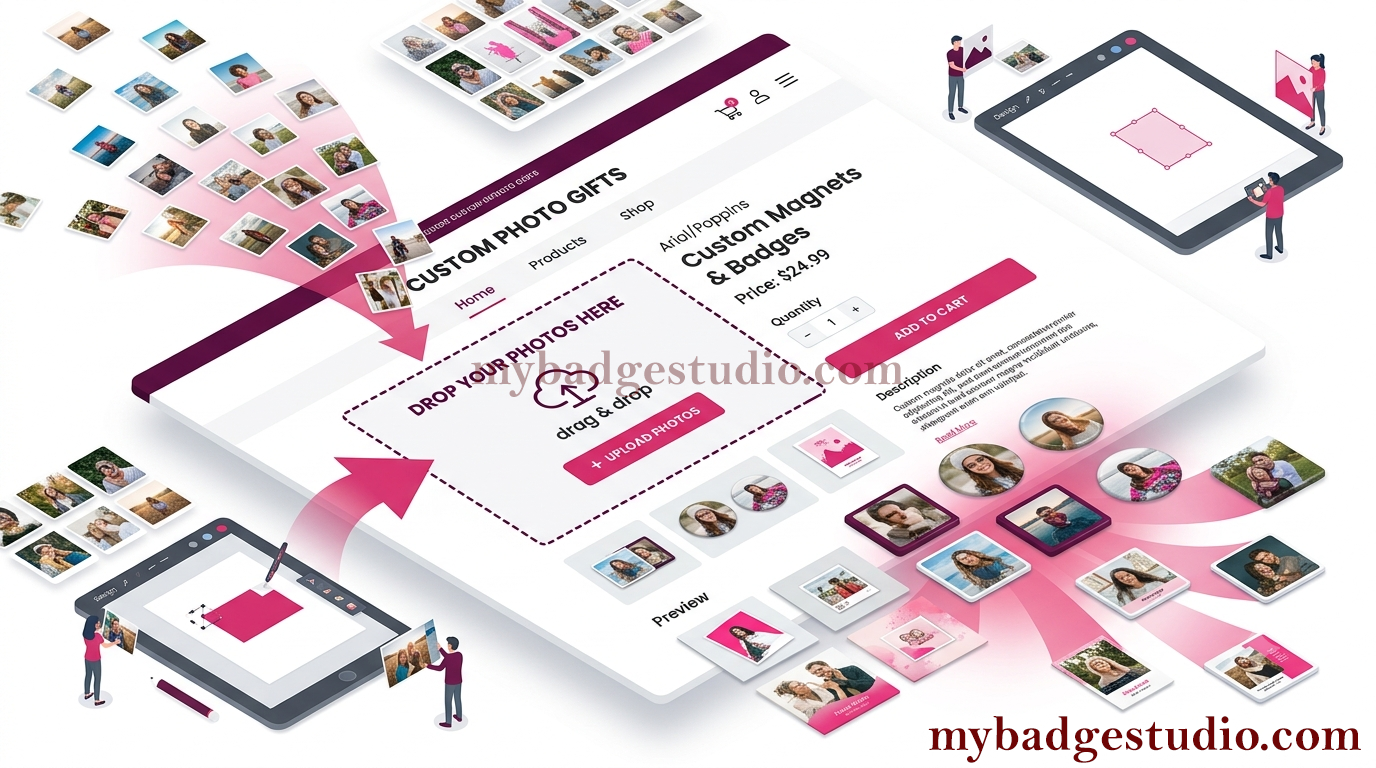
You don't need Shopify or WordPress to let visitors upload their own photos and design a product on your site. If your website builder lets you paste a snippet of HTML — Wix, Squarespace, Webflow, Carrd, Google Sites or a hand-coded page — you can drop in a live image uploader and editor for custom button badges, fridge magnets, business cards, photo prints or stickers, with bulk (multi-image) upload built in. No plugin, no framework, no build step.
You'll create a custom template, turn it into a product, and paste one embed code into your page. That's the whole job.
On a store platform? If you sell on Shopify, follow the Shopify uploader guide; on WordPress / WooCommerce, follow the WordPress uploader guide. Those versions also tie the saved design to your cart and checkout. This guide is for any other website, where you collect designs and arrange payment your own way.
Step 1 — Create your custom template in the Studio
Open the Studio page and build a template at the exact finished size you sell — for example 3.5 × 2 inches for a business card.
Important: because a business card or flexible magnet is a flat product (not a domed badge with a separate rim), set the inner and outer dimensions to the same value. That gives you one clean, edge-to-edge print area with no rim.
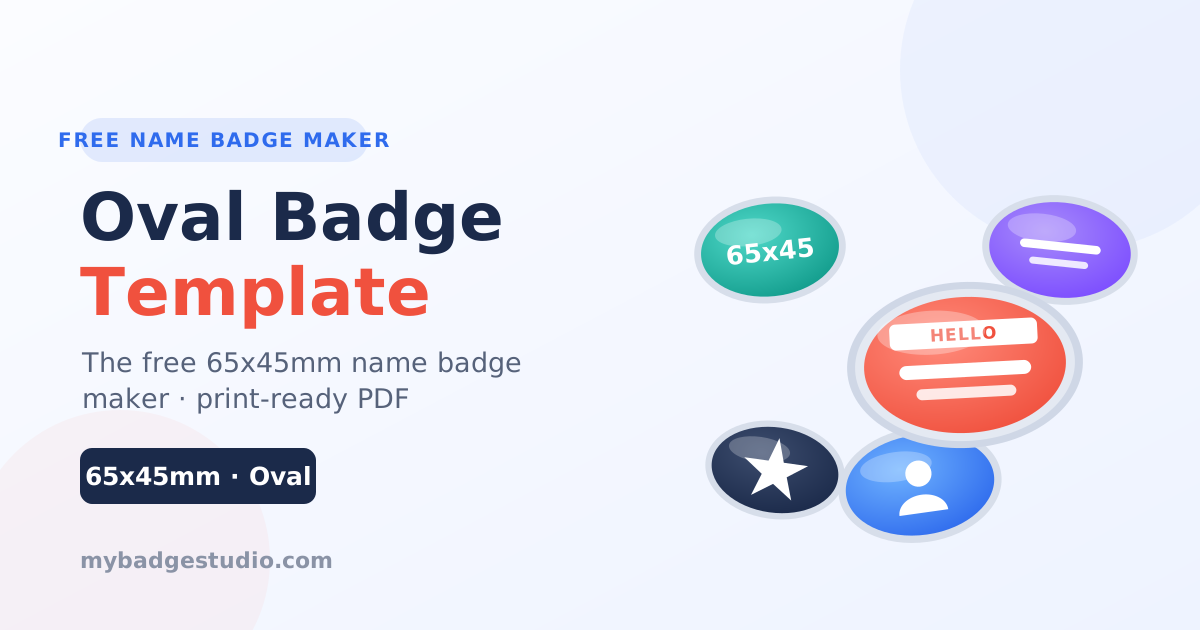
Selling button badges or round fridge magnets instead? You don't need a custom template at all — just pick one of the ready badge and magnet templates (58mm, 44mm, 50×50mm and more). They already include the correct rim, so you can jump straight to Step 2 and select that size for your product.
Set your paper size and any other layout options, then save the template so it's ready to attach to a product.
Step 2 — Create the product in your Seller Dashboard
In the Seller Dashboard, create a new product and fill in:
- Product name — what visitors will see (e.g. "Custom Business Cards").
- Select Size for Product — choose the custom template you just made. This ties the uploader to your exact print size.
- Maximum images customers can upload — the cap per order (for example 10). Set it to 0 for unlimited.
- Other settings — configure pricing, description and so on as needed. For a simple website embed these extra settings aren't required, so you can keep them minimal.
Save the product.
Step 3 — Copy the embed code
- Open the Integration section of the dashboard and choose the Static / Any site tab.
- Click your product and copy its embed code — a small
<div>plus a<script>.
Step 4 — Paste it into your website
Wherever your builder accepts an HTML / embed / custom-code block, paste the snippet. Here's where that lives on the popular platforms:
- Wix: Add → Embed & Social → Embed a Widget (or "Embed HTML / Custom Code"), then paste the code.
- Squarespace: add a Code block to the page and paste the snippet in.
- Webflow: drop an Embed element onto the canvas and paste the code inside it.
- Carrd: add an Embed element, set it to "Code", and paste.
- Google Sites: Insert → Embed → "Embed code" and paste.
- Hand-coded / plain HTML: paste the snippet directly into your page's HTML where you want the button to appear.
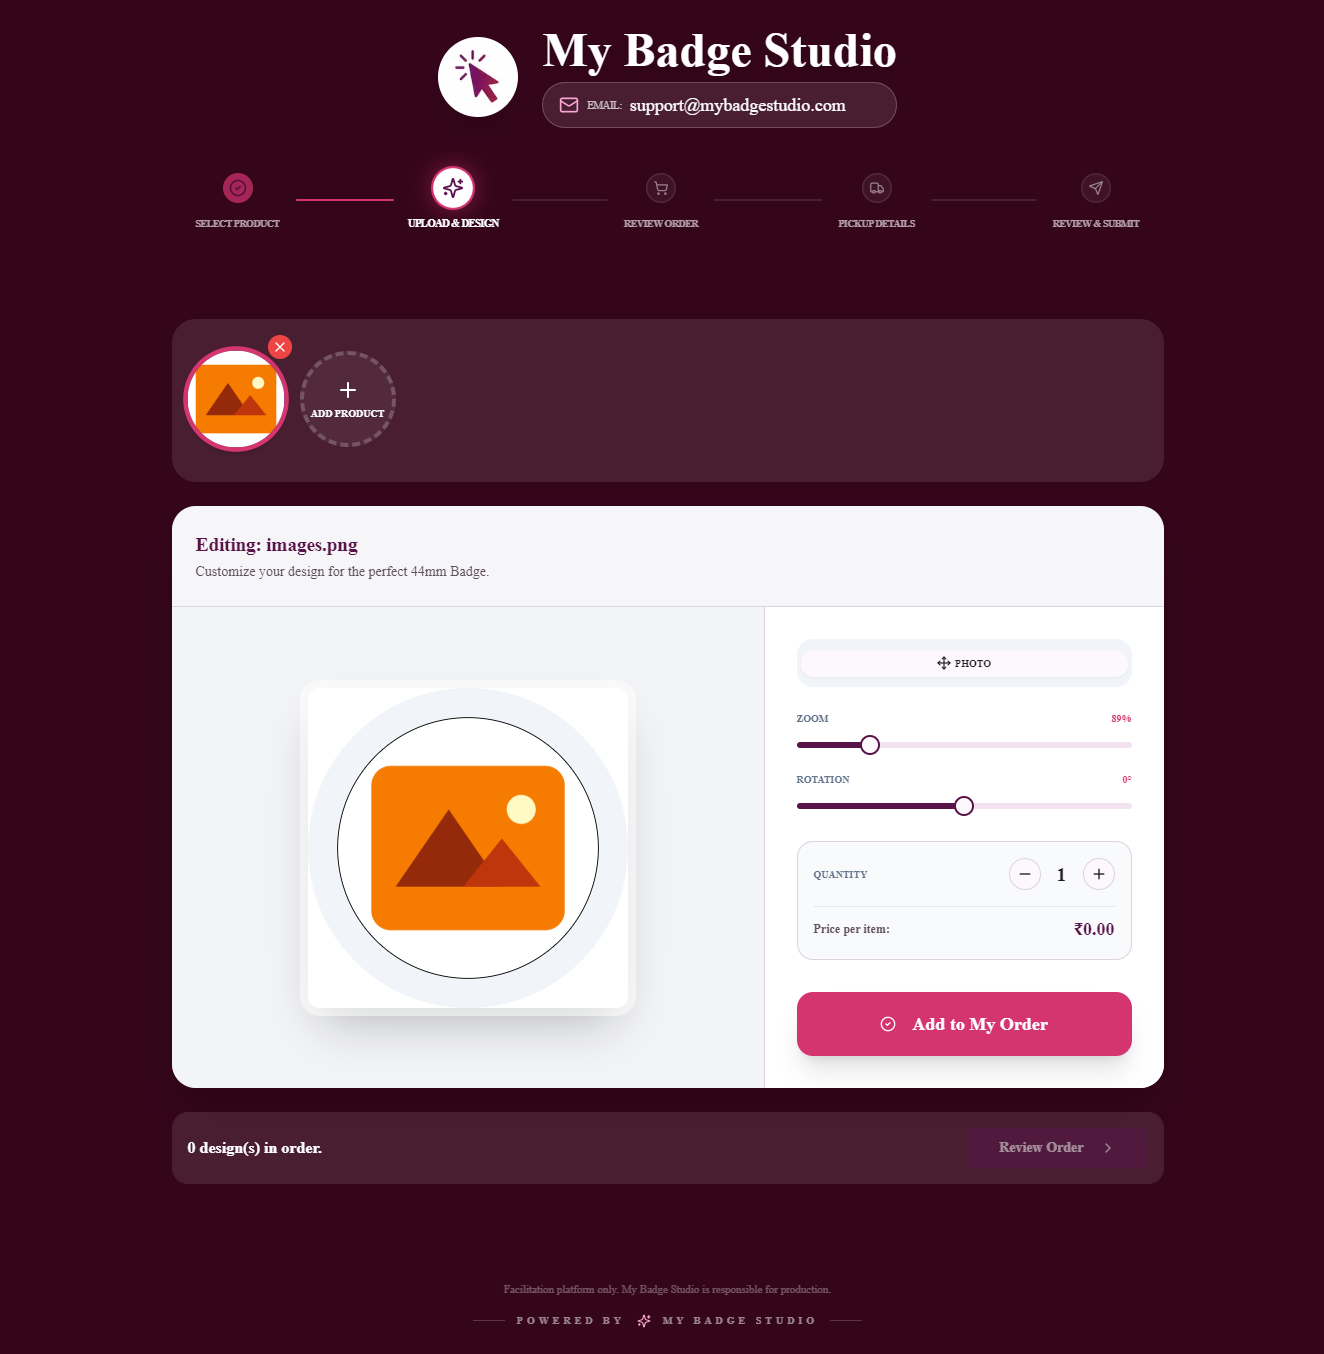
Save or publish the page. That's it — the "Customise" button appears exactly where you placed it, and clicking it opens the uploader and editor, matched to your template size.
Tip: some builders only run embedded code on the live/published page, not in the editor preview. If the button doesn't show while editing, publish first and check the real page.
How you receive designs (no store checkout)
On a store platform the design rides along to the cart and order automatically. On a plain website there's no checkout to hook into, so it works a little differently — and simpler:
- When a visitor finishes a design, it's saved to your account and appears in your Client Inbox with a unique Design ID.
- You then arrange payment and fulfilment your own way — a payment link, an invoice, an email, or an existing order form on your site.
If you want automatic paid-order syncing, that's exactly what the Shopify and WordPress integrations add on top.
Bulk upload — visitors can add multiple images at once
Bulk upload is fully supported. A visitor can select and upload several images at once — up to the limit you set on the product — edit each one in the built-in designer, and then confirm. It's ideal for anyone ordering a set: a batch of business cards, a wall of photo magnets, or a pack of stickers.
Upload-only mode (no editing interface)
Don't need the full editor? The Select Size for Product option also supports an image-upload-only mode. Visitors simply upload their images — no editing screen — which is perfect for print-ready artwork or when you just need the customer's file at the right size.
What you can sell with this
- Button badges & pin badges — round, square, oval or heart, using the ready badge templates (which include the rim).
- Fridge magnets — round photo magnets or flat square/rectangular magnets.
- Custom business cards — 3.5 × 2 in, edge-to-edge.
- Photo prints, stickers and labels — customer-supplied images at your exact dimensions.
- Any personalised flat product where the customer provides the artwork.
Tips
- Use your builder's HTML / embed / code block — a normal text block will strip the script.
- Match inner & outer size for flat products (cards, magnets) so there's no unwanted rim.
- Set a sensible upload limit so orders stay manageable — or 0 for unlimited.
- Publish before testing — embedded code often runs only on the live page.
- Note the Design ID when you invoice a customer, so you can match the payment to the right saved design in your inbox.
Ready to add a designer to your site? Build your template, create the product, and paste the embed code — any website gets a professional image uploader in minutes.
Frequently Asked Questions
Which website builders does this work with?
Any builder that lets you paste an HTML / embed / custom-code block — including Wix, Squarespace, Webflow, Carrd and Google Sites — plus any hand-coded HTML page. There's no plugin or framework to install.
Do I need a store or checkout for this?
No. On a plain website there's no checkout to sync, so finished designs are saved to your Client Inbox with a Design ID and you arrange payment and fulfilment your own way. If you want automatic paid-order syncing, use the Shopify or WordPress integrations instead.
How do I actually get paid?
You collect the design first (it lands in your Client Inbox), then invoice the customer however you like — a payment link, an invoice, or your site's existing order form. Match the payment to the design using its Design ID.
Can visitors upload multiple images at once?
Yes. Bulk upload is supported — visitors can select several images in one go (up to the limit you set on the product), edit each one, and then confirm. Set the limit to 0 for unlimited uploads.
The button isn't showing on my page. Why?
Most builders only run embedded code on the live/published page, not in the editor preview — and the snippet must go in an HTML / embed / code block, not a plain text block. Publish the page and check the real URL, and confirm you pasted into a code block.
How do I make a business card or magnet template (not a badge)?
Create a template at the finished size (e.g. 3.5 × 2 inches for a business card) and set the inner and outer dimensions to the same value. Because it's a flat product rather than a domed badge, matching both dimensions gives you one clean edge-to-edge print area with no rim.