The Event & Client Portal: Let Guests Design Their Own Badges
The single biggest bottleneck in a badge business is collecting artwork from customers — chasing WhatsApp photos, wrong sizes, blurry screenshots. The Event/Client portal ends that: you get your own link and QR code where customers design their badges themselves, on their own phones, at your exact print sizes — and every finished order lands in your Studio inbox, print-ready.
What you get
- Your own branded URL —
mybadgestudio.com/c/your-name— plus a QR code to print and display. - A guided flow for customers: Select Product → Upload & Design → Review Order → Pickup Details → Review & Submit — or switch on Express mode to collapse it to just "upload & done" (see below).
- A Client Inbox in your Studio where finished, print-ready orders appear — open any order and print it like your own design.
- Works standalone at events and as the engine behind the Shopify/WordPress embeds.
Step 1 — Claim your URL
In the Seller Dashboard → Event/Client Access section, claim your custom URL (a one-time popup helps you pick it on first visit). Short and memorable is best — it's what guests will see after scanning your QR code.
Step 2 — Create the products customers can order
On the Products page, create a product for each thing you sell at events. For every product you control:
- Size — a built-in badge/magnet size, one of your own saved Studio templates (customer designs land at your exact print dimensions), or 📁 Upload image only for print-ready artwork with no design tool.
- Design options — which tools customers get: Photo edit (position & zoom), colour effects, frames/stickers and text — or tick Only upload so they simply upload their photo and finish, with no editing tools at all. A kids' party might be photo-only; a wedding favour might allow text for names.
- Limits — Max Customizations (or Max Uploads for upload-only products): how many designs one customer can add. 0 = unlimited.
- Price & label — shown during the customer's review step.
Then, back in Event/Client Access, tick which products appear on the portal. Untick everything except the two or three things you actually sell at this event — fewer choices means faster orders.
Step 3 — Payment & delivery settings
- Delivery modes — pickup (at the stall/event) and/or shipping (with a shipping charge).
- Payment — collect manually (cash/UPI at pickup) or require payment info at submission; you can upload your payment QR (UPI/PayTM) so customers pay on the spot.
- Currency — set once; all prices display in it.
Express mode — upload and done (no checkout)
New: running a busy stall where you just need the photo? Turn on Express mode in Event/Client Access → Express Mode & Customer Details. It strips the flow down to the essentials: the guest scans, uploads (or designs), and the image drops straight into your Client Inbox — no cart, no pickup step, no email or phone, no payment. They see a simple "Photo sent — show this screen to staff" confirmation with a short reference; you press and hand it over.
- Optional name/label — off by default. Switch it on to ask for just a first name, so a busy inbox stays easy to match to the right person.
- Pairs perfectly with 📁 Upload image only — scan → upload → done. Ideal for on-the-spot photo magnets and badges.
Want a middle ground instead? Leave Express mode off and use the individual Name / Email / Phone toggles — collect exactly the details you want (all on by default) and drop the rest. Turn all three off and the Pickup Details step disappears on its own.
Upload, review, then confirm
New: guests no longer fire off a single photo by accident. On an Only upload product they can add several pictures and see them all as round thumbnails first, then tap Review & Confirm to send — and remove any photo they didn't mean to add, so only the ones they keep reach your inbox. With Photo edit turned on, uploading several photos walks them through each one in turn instead of ending after the first, and the step indicator stays on screen so they can move back to add more or forward to keep editing.
Step 4 — The event itself
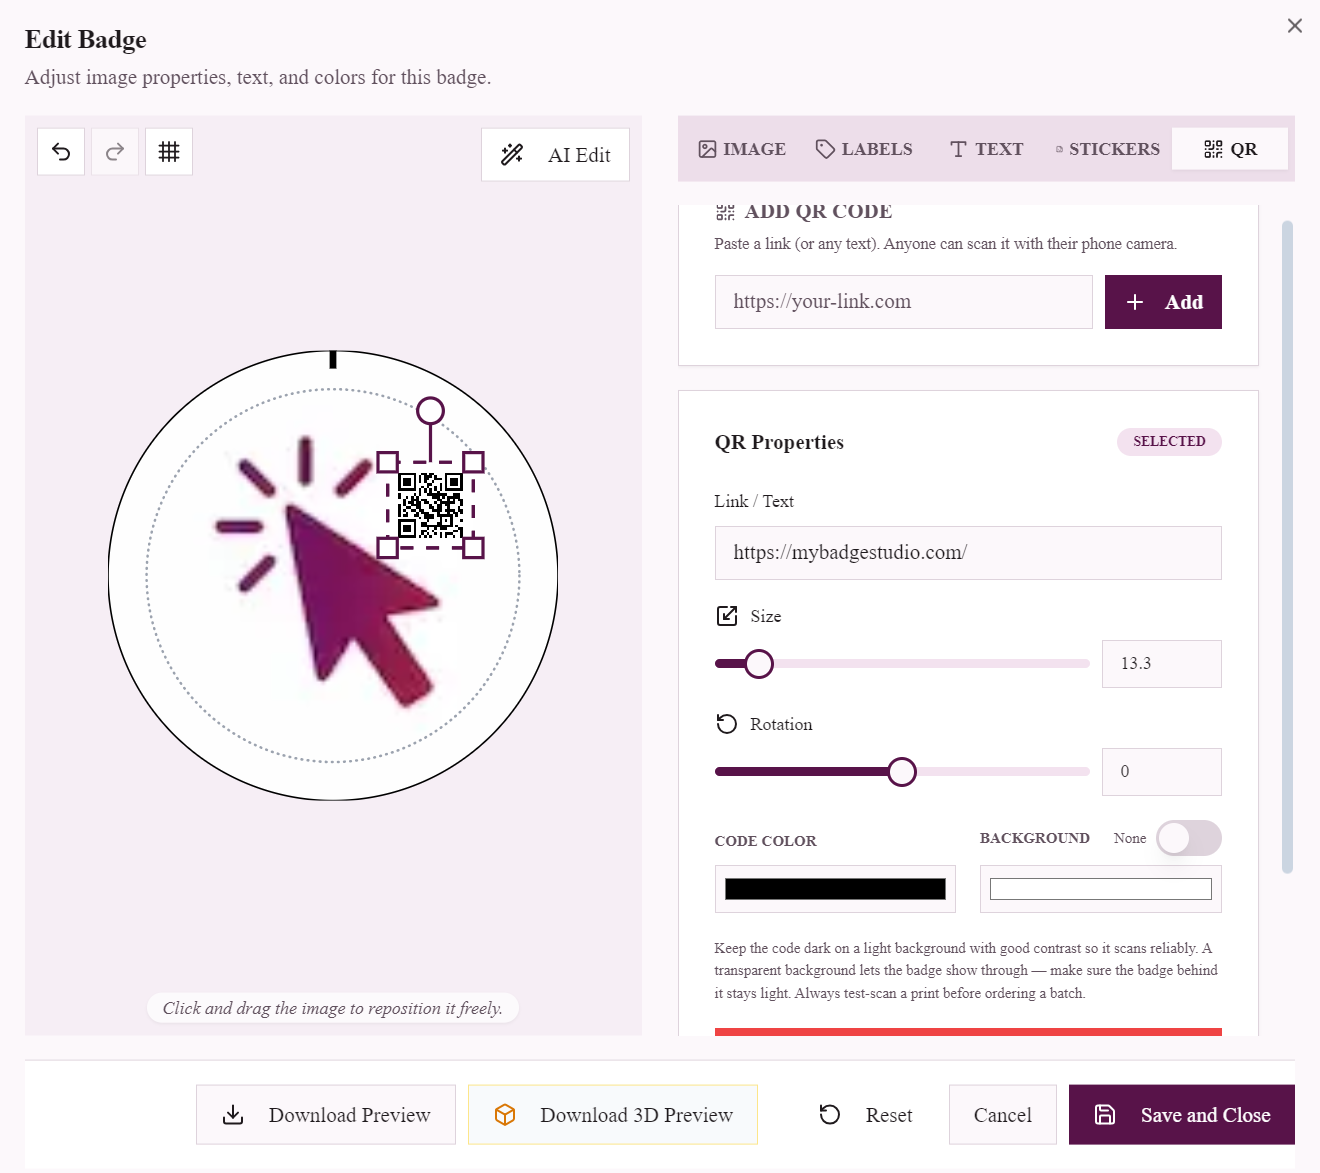
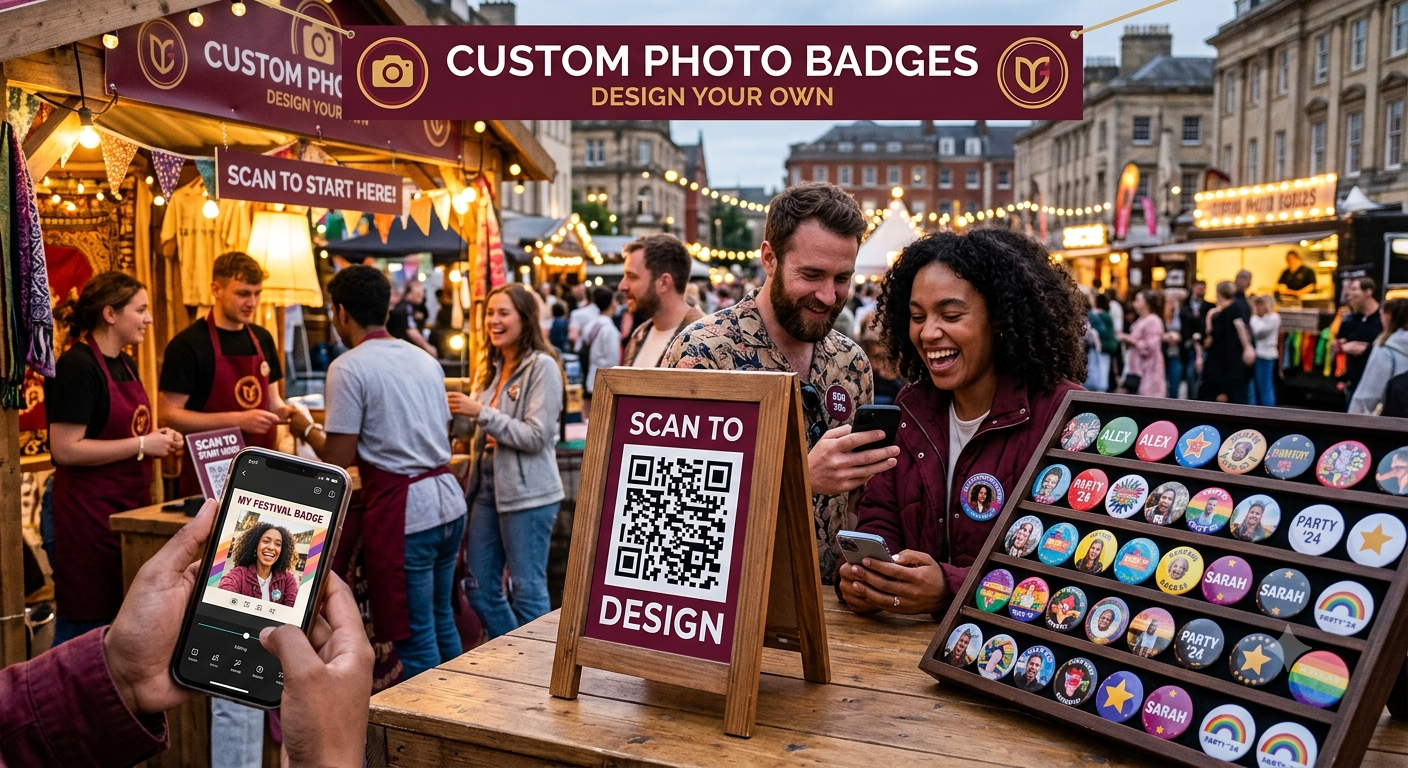
- Print your portal QR code big — table stand, banner, or a badge on your own shirt (make it a QR badge!).
- Guests scan → pick a product → upload a photo → position, zoom and decorate it inside your allowed options → submit with whatever contact details you ask for (or nothing at all, in Express mode).
- Each submission appears instantly in your Client Inbox (Finalized Orders) at the top of the Studio — newest upload first, each with a thumbnail that matches the badge shape (round, square or rectangle) so you can tell orders apart at a glance.
- Open an order — it loads onto your print sheet at the exact size — press, and hand it over. A wedding's whole guest list can design while you press.
Throughput tip: at a busy stall, let 5–10 orders accumulate, then open them together and fill an A4 sheet — one press cycle, ten badges.
Use cases that work brilliantly
- Weddings — guests design photo-badge favours during the reception; the couple gets a keepsake set.
- Market stalls & fairs — "scan, design, pick up in 10 minutes" turns browsers into buyers.
- Schools — teachers submit class sets; each student designs their own badge as an activity.
- Corporate events — attendees make their own name badges at check-in.
- Remote clients — send the link on WhatsApp instead of asking for photos; get back print-ready designs.
Which plan do I need?
The Event/Client portal is included in Business Plus and Business Pro (see pricing). You can configure everything and preview your portal on any plan — it goes live for customers when you're on an eligible plan. Business Plus also includes the Shopify/WordPress integration, which reuses these same products.
Ready to stop chasing artwork? Upgrade to Business Plus, claim your URL, and put a QR code on the table at your next event.
Frequently Asked Questions
How do customers use the Event/Client portal?
They scan your QR code or open your link (mybadgestudio.com/c/your-name), pick a product, upload a photo, design it on their phone within the options you allow, and submit with their contact details. The finished, print-ready order appears in your Studio's Client Inbox instantly.
Can I control what customers are allowed to change?
Yes — per product you choose the design options (Photo edit, colour effects, frames/stickers, text — or Only upload, where they just upload and finish with no editing tools), the size (including your own saved templates), a per-customer design limit, and the price.
How do I get paid for portal orders?
You choose: collect manually at pickup (cash/UPI — you can display your payment QR in the flow), or take payment details at submission. Delivery can be pickup, shipping with a charge, or both.
Do customers have to enter an email and phone?
No. In Event/Client Access → Express Mode & Customer Details you can turn the Name, Email and Phone fields on or off individually, or switch on Express mode for a pure kiosk flow: guests just upload and the photo drops straight into your inbox — no cart, pickup, email or phone. An optional name/label field keeps a busy inbox sortable.
Can guests review their photos before submitting?
Yes. On an Only upload product, guests add their photos and see them all as thumbnails, can remove any they didn't mean to add, then tap Review & Confirm — only the photos they keep reach your inbox. With Photo edit on, uploading several photos walks them through each one in turn instead of sending after the first.
Which plans include the Event/Client portal?
Business Plus and Business Pro. You can set everything up and preview on any plan; the public link goes live for customers on those plans.
Do submissions print at the right size?
Yes. Each product is tied to an exact size — a built-in badge/magnet size or your own saved template — so every submission opens on your print sheet at exactly the dimensions you press.