How to Make ID Badges at Home: Size, Template & Printing Guide
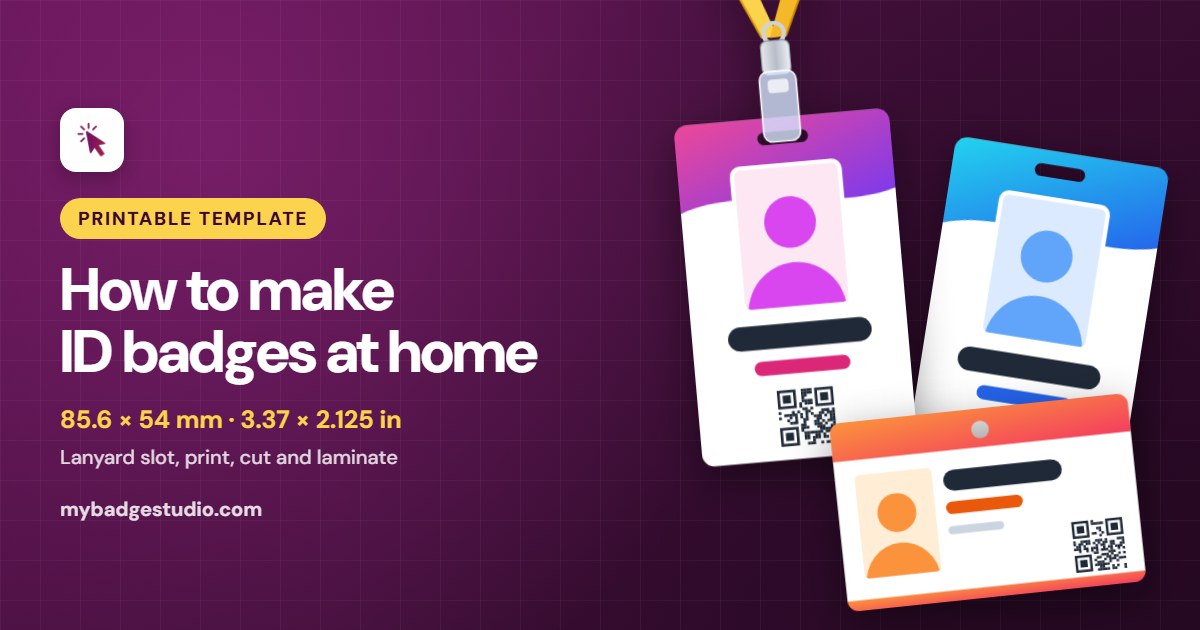
An ID badge is a card with a photo, a name and a role that people wear on a lanyard or a clip, so everyone can see who they are. You can make your own at home with an ordinary printer, cardstock or printable PVC sheets, and a few cheap tools. Here's the standard ID card size in mm and inches, which lanyard hole to choose, what to put on an employee badge, and how to print, cut and laminate a whole team's badges, plus conference name badges.
ID badge size in mm and inches
Most ID badges, staff passes, access cards and membership cards use the international ID-1 format (ISO/IEC 7810), which card printers call CR80. It's the size of a bank card, so it fits standard badge holders, card sleeves, badge reels and wallets.
| Measurement | Millimetres | Inches |
|---|---|---|
| Long side | 85.60 mm | 3.370 in |
| Short side | 53.98 mm | 2.125 in |
| Corner radius | 3.18 mm | 1/8 in (0.125 in) |
You'll often see the size rounded to 85.6 × 54 mm or 3⅜ × 2⅛ in: it's the same card. For conference inserts, name tags and other sizes, see the ID and name badge size chart.
Portrait or landscape?
- Portrait (vertical, 53.98 × 85.6 mm) is the usual choice for staff, school and event badges on a lanyard. The photo goes at the top with the name underneath, and the badge hangs straight from its short edge.
- Landscape (horizontal, 85.6 × 53.98 mm) suits membership, library and gym cards, and badges worn on a clip or kept in a wallet, with the photo beside the text.
If people will read the badge from a few steps away, portrait leaves more room for a big name. If it lives in a wallet or gets scanned at a desk, landscape is handier.
Lanyard slot, round hole or no hole
How the badge will be worn decides the hole. On the template, the hole is always centred on the top edge, 3.5 mm down, so a portrait badge hangs from its short edge and a landscape one from its long edge.
| Option | Size | Use it with |
|---|---|---|
| Slot | 12.7 × 3.2 mm (½ × ⅛ in), rounded ends | Strap clips, badge reels, and lanyards that end in a clip or hook |
| Round hole | 5 mm (about 3/16 in) | Ball chains, key rings and split-ring lanyards |
| No hole | None | Plastic badge holders and card sleeves, which have their own slot |
The slot is the standard size that strap clips and badge reels are made for, and the size a slot punch cuts. A strap clip's flat strap won't go through a small round hole, so if you're not sure how people will wear the badge, the slot is the safer pick. The round hole is neater for a ball chain or a key ring.
Materials
- Heavy cardstock, about 250–300 gsm (90–110 lb cover), is the simplest choice. On its own it bends and scuffs, so laminate it if the badge has to last.
- Laminating pouches sold for ID or badge cards are slightly bigger than a CR80 card, so the edges seal all round. Check the pouch size against your card, and the pouch thickness against your laminator. You can also laminate the whole printed sheet before cutting.
- Printable PVC or synthetic sheets: inkjet PVC sheets and synthetic papers such as Teslin give a tougher, plastic-card feel. Synthetic sheets are usually laminated afterwards; check which printers each kind is made for.
- Plastic badge holders, rigid or soft, vertical or horizontal: a CR80 card slides in and the holder has its own slot, so print on cardstock with no hole and skip the laminating.
- Tools: a craft knife, a steel ruler and a cutting mat (or a paper trimmer), a 1/8 in (3 mm) corner rounder, and a slot punch or a 3/16 in hole punch.
Printing
- Print at 100% / Actual size, never "Fit to page", which shrinks everything by a few percent. See printing at actual size.
- Pick a matching paper setting: heavy paper or cardstock, or the setting named in the PVC sheets' instructions, at best quality.
- Print a test on plain paper and measure one badge: 54 mm (2⅛ in) on the short side and 85.6 mm (3⅜ in) on the long side. Fix the scale before you print on card.
- Let the ink dry fully before laminating, or it can smear inside the pouch.
Need a back? The simplest way is a second card printed with the back design, laminated back to back with the front in one pouch.
Cutting and finishing
With a Cricut or Silhouette
Use the machine's print-then-cut mode with the cut file: it reads the registration marks, then cuts the outline, the rounded corners and the slot or hole in one pass. Cardstock cuts well; for PVC and thick synthetic sheets, check your machine's material settings and cut one test badge first. There's more in cutting marks vs registration marks.
By hand
- Cut the straight edges with a craft knife against a steel ruler, or with a paper trimmer.
- Round the corners with a 1/8 in (3 mm) corner rounder, which matches the card's 3.18 mm corners.
- Punch the slot with a slot punch lined up on the printed slot, or the round hole with a 3/16 in (5 mm) hole punch.
- Laminating? Seal the card in its pouch first, trim the pouch leaving a narrow clear border, then punch the slot through it, so the hole has a sealed edge.
What to put on an ID badge
A badge is read in a second, often from a metre or two away. Make the most important thing the biggest, and leave the rest off. A good checklist:
- Photo: a recent head-and-shoulders shot, facing the camera, on a plain background.
- Name: as large as the card allows. A first name bigger than the surname is friendly and quick to read.
- Role or department, smaller, under the name.
- Organisation name or logo, and a colour band if you use colours for teams, visitors or access areas.
- An expiry or "valid until" date, so old badges are easy to spot.
- An emergency or reception number on the back, for whoever finds a lost badge or needs help.
- A QR code or barcode, if your door system, sign-in desk or library needs one.
Keep the top 10 mm clear: that's where the slot or hole goes.
Keep private details off the badge
A badge is seen by everyone you pass, and it can get lost. Leave off home addresses, personal phone numbers, dates of birth, government ID numbers and medical details. If a QR code links somewhere, point it at work information only, such as a staff profile or a contact card. If your workplace, school or event has a badge policy, follow it.
Conference and event name badges
For a conference, a trade show or a one-day workshop, most organisers skip the card and print paper inserts for plastic badge holders or lanyard pouches. The holder has the slot, so inserts need no hole and no laminating.
| Insert | Size | Fits | Per sheet |
|---|---|---|---|
| 4 × 3 in, landscape | 101.6 × 76.2 mm | Standard horizontal plastic badge holders | 4 on A4 or US Letter, 10 on A3 |
| 3 × 4 in, portrait | 76.2 × 101.6 mm | Vertical badge holders | 4 on A4 or US Letter, 10 on A3 |
| A6, portrait | 105 × 148 mm | A6 lanyard pouches, common at European events | 2 on A4, 4 on A3 |
An event badge has one main job: showing the name to someone a couple of metres away. Make the first name the biggest thing on it, in a bold, plain sans-serif, dark on a light background, with the full name and company smaller underneath. Keep the event logo small, and add a colour band or a word for the attendee type, such as Speaker, Staff or Sponsor. Medium cardstock slides into holders easily and stays flat.
The conference badge insert template has all three sizes. For a slim pin-on name tag instead, use the 68 × 24 mm name badge template.
How to make ID badges in My Badge Studio
- Open the template. Start from the ID badge template, or pick it from the ID & Event Badges group of the Studio's template picker: portrait or landscape, on A4, US Letter or A3.
- Choose the hole. In the Studio's Template panel, scroll to Badge Shape & Size and open the Lanyard hole menu: no hole, a slot for a strap clip, or a round hole for a ball chain. The hole is a real cut line: it prints with the outline and is in the cut file.
- Add a photo or design for each badge. Every badge on the sheet can have its own picture, so one sheet holds a whole team. Dashed boxes show where a photo, name, role and QR code usually go; they're only a guide and never print.
- Add the name and role as text in Edit Badge, where you can also move and zoom the picture. On plans with QR codes, you can add one on the QR tab.
- Download the print-ready PDF and print at 100%. A sheet holds 8 badges on A4, 6 on US Letter and 18 on A3, spaced so a cutting machine can read its registration marks. Plans that include cut files can also export them for a cutting machine.
The template is part of the Business plan and above, which also gives you unlimited prints and PDF downloads with no watermark.
Frequently Asked Questions
What size is an ID badge?
The standard ID badge is the CR80 card size: 85.60 × 53.98 mm, or 3.370 × 2.125 inches (often rounded to 3⅜ × 2⅛ in), with 1/8 inch (3.18 mm) rounded corners. It's the same size as a bank card, so it fits standard badge holders and card sleeves, portrait or landscape.
How do I make ID cards at home?
Design the badges on a CR80 template with a photo, name and role, print them at 100% on heavy cardstock or printable PVC sheets, cut them out, round the corners with a 1/8 inch corner rounder, laminate them if you like, and punch the lanyard slot.
What should be on an employee ID badge?
A recent photo, the person's name in large type, their role or department, the organisation's name or logo, and an expiry date. A QR code or barcode is useful if your entry system reads one, and an emergency number can go on the back. Leave off home addresses and other private details.
What's the difference between a lanyard slot and a round hole?
The slot is the standard 1/2 × 1/8 inch (12.7 × 3.2 mm) slot with rounded ends, for strap clips, badge reels and lanyard clips. The round hole is 5 mm, for a ball chain or a key ring. Choose no hole if the badge goes into a plastic holder, which has its own slot.
Can I laminate ID badges at home?
Yes. Use laminating pouches made for ID cards, which are slightly larger than a CR80 card so the edges seal, or laminate the whole printed sheet before cutting. Punch the slot after laminating, through the pouch, so the hole has a sealed edge.
What size are conference name badges?
Most plastic conference badge holders take a 4 × 3 inch insert (101.6 × 76.2 mm), landscape or portrait, and European lanyard pouches often take A6 (105 × 148 mm). 4 × 3 inch inserts fit 4 per A4 or US Letter sheet and 10 per A3; A6 fits 2 per A4 and 4 per A3.